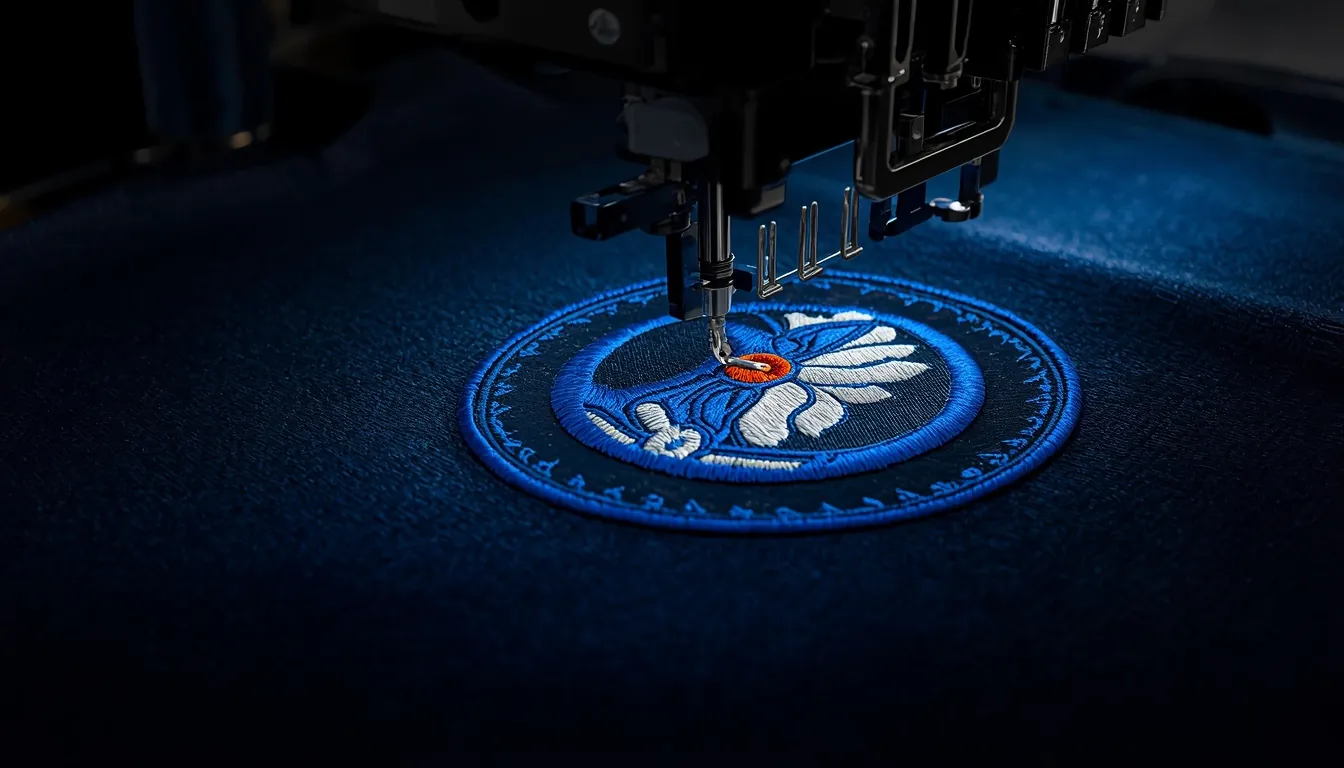
Yes, a cap usually needs its own embroidery file. Caps are sewn on a curved frame, so the design is re-sequenced to stitch from the center out and from the bottom up, resized for the cap front, and given underlay for a stiff panel.
Flat file
Built for shirts, polos and jackets laid flat in a hoop. Often wider than a cap front allows.
Cap file
Built for the cap frame: narrower, re-ordered and anchored for the curve and the center seam.
Why a cap isn't just a small shirt
On a shirt, the fabric lies flat and tight in a hoop. On a cap, the front panel is curved, held on a cap frame, and often backed with stiff buckram. As the needle goes in thousands of times, the fabric gets pushed in the direction of stitching. On a flat garment that push is easy to control. On a curved cap front it builds up, and if the stitch order is wrong it shoves fabric into areas that are already finished.
That's what causes the classic cap problems: letters that drift out of line, gaps between outlines and fills, and a wavy, puckered front.
What changes in a cap file
FLAT Flat digitizing
- Sewn in whatever order is most efficient, often left to right
- Sized for the chest, back or sleeve, often 3.5″ wide or more
- Underlay set for soft knit or woven fabric
- No seam to work around
CAP Cap digitizing
- Center-out and bottom-up, so fabric moves away from finished areas
- Sized for the cap frame and crown height, usually about 2–2.25″ tall
- Underlay that anchors stitches to a stiff, curved front
- Thin text and fine details kept off the center seam
Stitch order
This is the big one. A cap file starts with the element in the middle of the design and works out to the sides, and builds each area from the bottom up toward the crown. It's why the same letters can look perfectly straight in a cap file and wander in a shirt file.
Size and proportions
A left chest logo is usually 3.5 to 4 inches wide. A cap front can often take that width, but rarely the height, because the crown is short and the brim is right below it. Wide logos usually fit; tall emblems often need to shrink, and then small text inside them needs adjusting so it stays readable.
The center seam
Most six-panel caps have a seam running down the middle of the front. Small lettering or a thin line sitting right on that seam tends to break up. A cap digitizer spots this and nudges details, or adds a little extra support, so the design reads cleanly across it.
Underlay and density
Structured caps have a stiff backing behind the front panels. The underlay is set to grip that backing without turning the front into a rigid board. Unstructured and low-profile caps are softer and need lighter treatment.
Typical cap embroidery sizes
Every cap style is slightly different, so measure the one you're using. These are common starting points for adult caps:
| Placement | Typical maximum size |
|---|---|
| Front, structured cap | 2–2.25″ tall, up to about 4.5″ wide |
| Front, low-profile or unstructured | 1.75–2″ tall, often narrower |
| Side panel | 1.5–2″ in either direction |
| Back, above the strap | About 1″ tall and 3–4″ wide |
3D puff on caps
Raised 3D puff lettering is a cap favorite. It's stitched over a layer of foam, which needs wider satin columns and closed-off ends so no foam peeks out. That's a different build from a flat cap file, so if you want the same logo both flat and puffed, you need two files. Bold letters and simple shapes puff best; thin outlines and tiny text are usually kept flat. More on this in 3D puff digitizing.
Same logo on shirts and caps? Order both versions together. You get a flat file for garments and a cap file for headwear, each built for its own frame, and you avoid the trial-and-error of forcing one file onto both.
What to send for a cap file
- Your logo in any format. Vector is ideal, but a clear PNG or JPG works. See which logo formats work for embroidery.
- Cap style: structured, unstructured, trucker, snapback, dad cap or beanie.
- Placement and size: front, side or back, and the width or height you want.
- Flat or 3D puff, and thread colors if you know them.
- Your machine format, such as DST or PES.
What cap digitizing costs
Cap logos fall into our Left Chest & Cap tier, starting at $10 for designs up to about 8,000 stitches. Most cap files are delivered the same day, usually within 3–5 hours, with a sew-out preview to approve before the final file. You get a confirmed price before any work starts. Not sure how many stitches your logo will be? Try the free Stitch Count Estimator.
Cap digitizing FAQs
What is cap digitizing?
Cap digitizing is embroidery digitizing set up for a cap frame. The design is sized for the cap front, sewn from the center outward and from the bottom up, and given underlay that suits a curved, often stiff, front panel.
Can I use my shirt or left chest file on a cap?
It may run, but it often won't look right. A flat file is usually sewn in a different order and is often too wide for a cap front, so lettering can shift, gap or pucker. A cap-specific file avoids that.
What size should a cap logo be?
On a structured cap front, a logo is usually up to about 2 to 2.25 inches tall and up to about 4.5 inches wide. Low-profile and unstructured caps take a little less. Measure the cap you are using, because styles vary.
Does 3D puff on a cap need a different file?
Yes. 3D puff needs wider columns and different finishing at the ends of each shape so the foam is covered, so the puff version is digitized as its own file.
How long does cap digitizing take?
Most cap files are delivered the same day, usually within 3 to 5 hours, with a sew-out preview to approve before the final file.
Need a cap file that sews straight?
Send your logo and cap style. We'll digitize it for the cap frame by hand and reply with a free quote.
Get a Free Quote →